

Creating & managing circles
Creating a circle
You might ask how to add a workspace, make a new team space, or set up a client space — in FlowQi you create a circle.
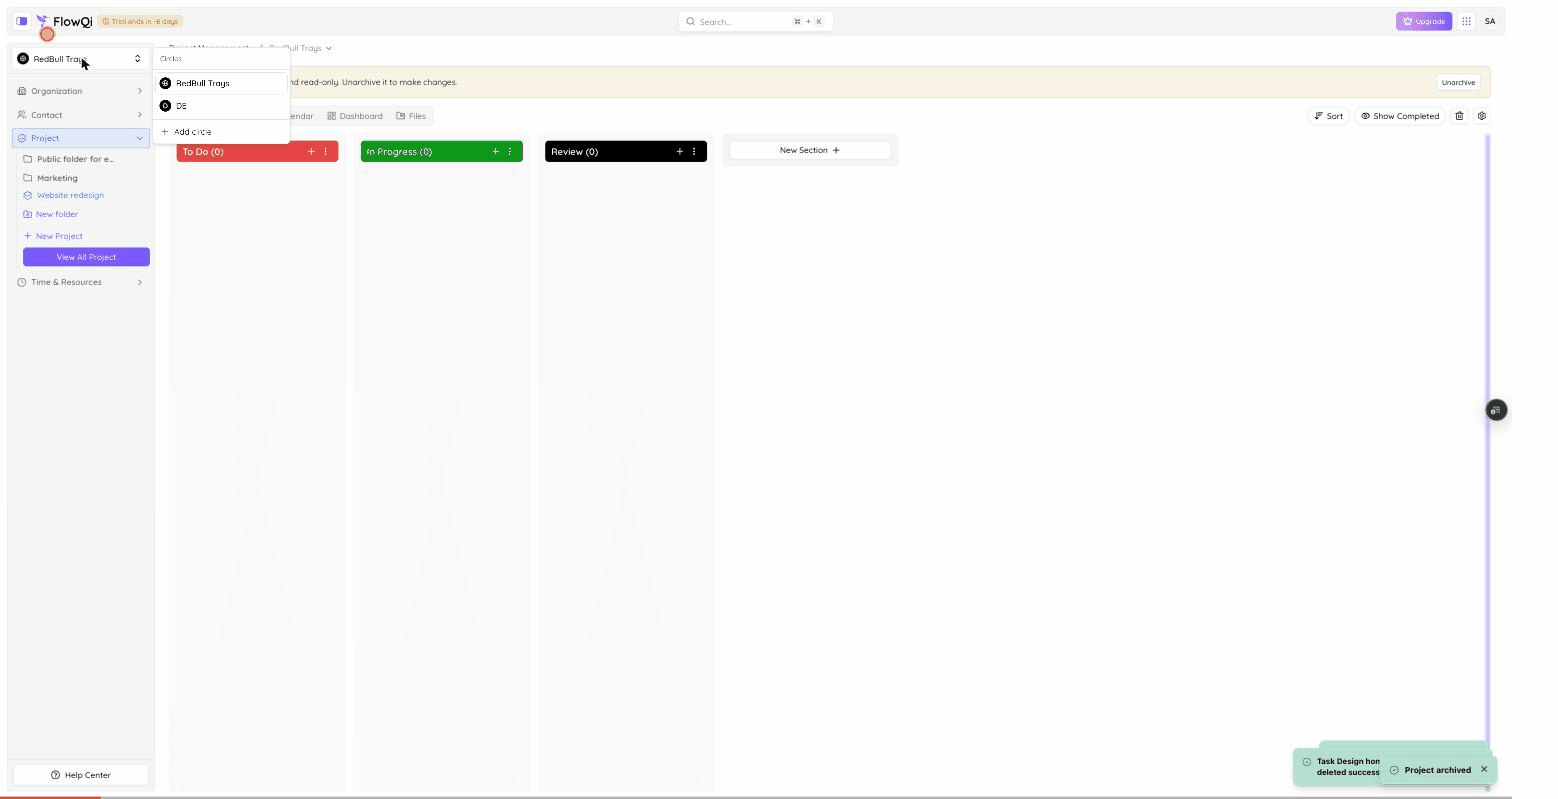
You can create additional circles at any time — for example a separate workspace for a team, department, or client.
- Open the circle switcher at the top-left of the sidebar.
- Click + Add circle.
- Give the circle a name, an optional description, and a colour. You can add members while creating it.
The new circle appears right away and starts empty. Switch to it and add the projects, contacts, and organizations that belong there.
Name, description & colour
Each circle has a name, an optional description, and a colour (colorCode) so it’s easy to recognize. You can change these later in the circle’s settings.
Editing a circle
Open the circle’s settings to update its name, description and colour (General) and its members — member changes are saved separately from the general settings.
Removing a circle
When you delete a circle, FlowQi can transfer its contents to another circle so nothing is left orphaned, before the circle itself is removed. Because deletion affects everything scoped to that circle, double-check you’re removing the right one.
The Main Circle is the shared, public workspace for your whole organization. Keep it as the organization-wide space; use additional circles to separate specific teams or clients.