

Managing Projects
What is a project?
A project is a workspace where you and your team plan and track work. Each project lives inside a Circle, has an owner and members, an optional organization, tags, a time budget, and a set of task views (Board, List, Calendar, Dashboard, and Files).
You might call them jobs, assignments, or engagements — in FlowQi they are projects.
Where to find Projects
In the left sidebar, click Project. You’ll see the projects in your current Circle — the one shown in the Circle switcher at the top of the sidebar (your Main Circle by default).
A Circle is always selected, so the overview shows its projects right away. To see another Circle’s projects, switch Circles with the switcher.
The projects overview
Projects are shown as cards. Each card shows:
| On the card | Content |
|---|---|
| Name | The project name (click to open the project) |
| Folder | The project folder the project sits in, if any |
| Organization | The linked organization, if any |
At the top you can:
- Search — type in the search bar to filter projects in this Circle by name.
- New project — open the create-project dialog.
If you don’t see any projects, your current Circle may not have any yet — switch Circles with the switcher, or create a project. Projects are scoped to a Circle.
Creating a project
Here’s the whole flow recorded in the real app — watch it, or follow the steps below.
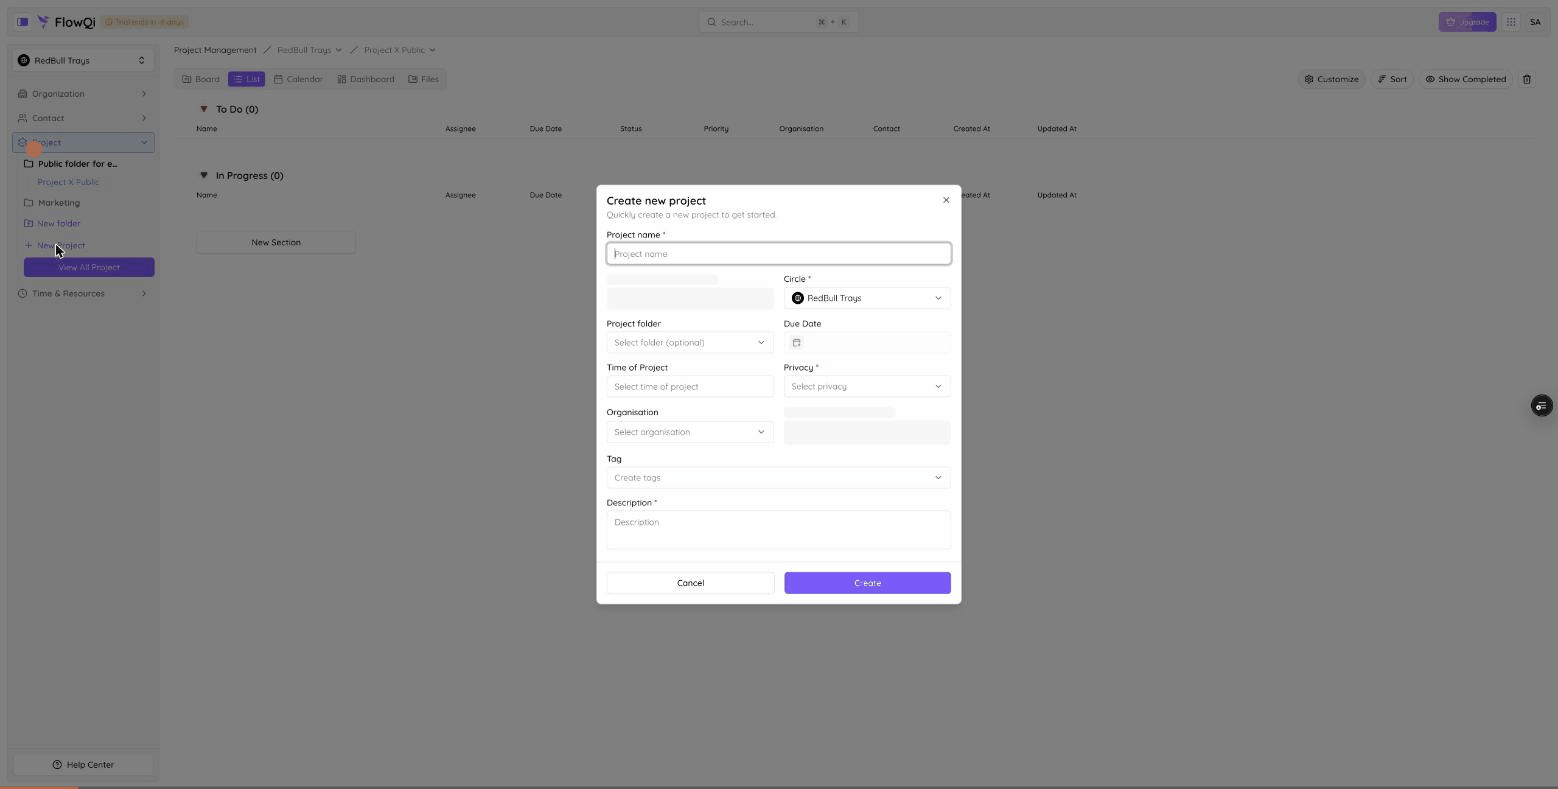
- Click New project.
- Fill in the details. These fields are required:
- Project name — what the project is called.
- Owner — the person responsible for the project. Defaults to you.
- Circle — the Circle the project lives in. Defaults to your current Circle.
- Privacy — Private or Public (see Privacy below).
- Description — a short explanation of what the project is for.
- Optionally add:
- Project folder — group the project under a folder in the project list.
- Due date — a start and end date (a date range).
- Time of Project — a time budget in hours, counted either Per Month or Per Project (see Time budget below).
- Organization — link the project to an organization.
- Users — add members to the project. The members and their roles are managed in Project Roles & Sharing .
- Tags — free-form labels you can type and create on the spot (up to 2 shown).
- Click Create.
After creating, FlowQi opens the new project on its Dashboard.
The Owner defaults to you, and the Circle defaults to your current Circle. You can change both before saving.
Privacy: who can reach the project?
Every project has a Privacy setting:
| Option | Meaning |
|---|---|
| Private | Only people with access can see the project |
| Public | Everyone in the Circle can view the project |
The Circle controls the broader visibility scope; Privacy fine-tunes access within it. For how privacy works together with members, roles, and sharing, see Project Roles & Sharing .
Time budget
A project can carry a time budget so you can track the hours spent against the hours planned. You set it with the Time of Project field (when creating the project, or later on the General tab of the project settings), as a number of hours counted either Per Month or Per Project.
This page only covers setting the budget. The full story on tracking time, timesheets, and budgeting lives under Time & Resource Management.
Roles and members
People take part in a project through roles (Owner, Member, Commenter, Viewer). You add users when creating the project, and the owner you choose becomes the project Owner; you can also assign teams. Adding, removing, and changing roles, together with privacy and sharing, are all covered in Project Roles & Sharing .
Opening a project: the views
When you open a project, you can switch between views — Board, List, Calendar, Dashboard (the default), and Files. See Project Views for what each view shows and how to use it. The board columns themselves are configured under Statuses & Sections .
Editing a project’s settings
Open Settings with the gear icon at the top-right of any project view. The dialog has these tabs:
| Tab | What it covers |
|---|---|
| General | Project Name, Circle, linked Organization, Project folder, tags, Time of Project, and Project Description |
| Circle | The Circle the project belongs to |
| Team Members | Project members and their roles |
| Permissions | The available roles and what each role can do |
| Privacy | The project’s visibility (Private or Public) |
The General tab is where you edit the core project details. For everything to do with Team Members, Permissions, and Privacy — adding or removing people, changing roles, and sharing — see Project Roles & Sharing .
After making changes, click Update Project to save.
You cannot remove the project owner from the project. To change who owns the project, set a new owner first.
Archiving, deleting & restoring
FlowQi keeps your data safe with three levels: archive to set a project aside, delete to send it to the Trash, and purge to remove it for good. Nothing is gone the moment you click — a deleted project waits in the Trash until you restore it or permanently delete it.
| State | What it means | How to reverse it |
|---|---|---|
| Archived | The project is kept and stays fully readable, but it’s hidden from the default project list and is read-only — you can’t edit it or its tasks until you unarchive. | Click Unarchive (from the banner on the project, or its settings). |
| In Trash | The project is deleted: it disappears from the list, and its tasks are moved to the Trash with it. It’s recoverable. | Restore it from the Trash. |
| Purged | The project and everything in it are permanently removed. | Not reversible. |
Archiving a project
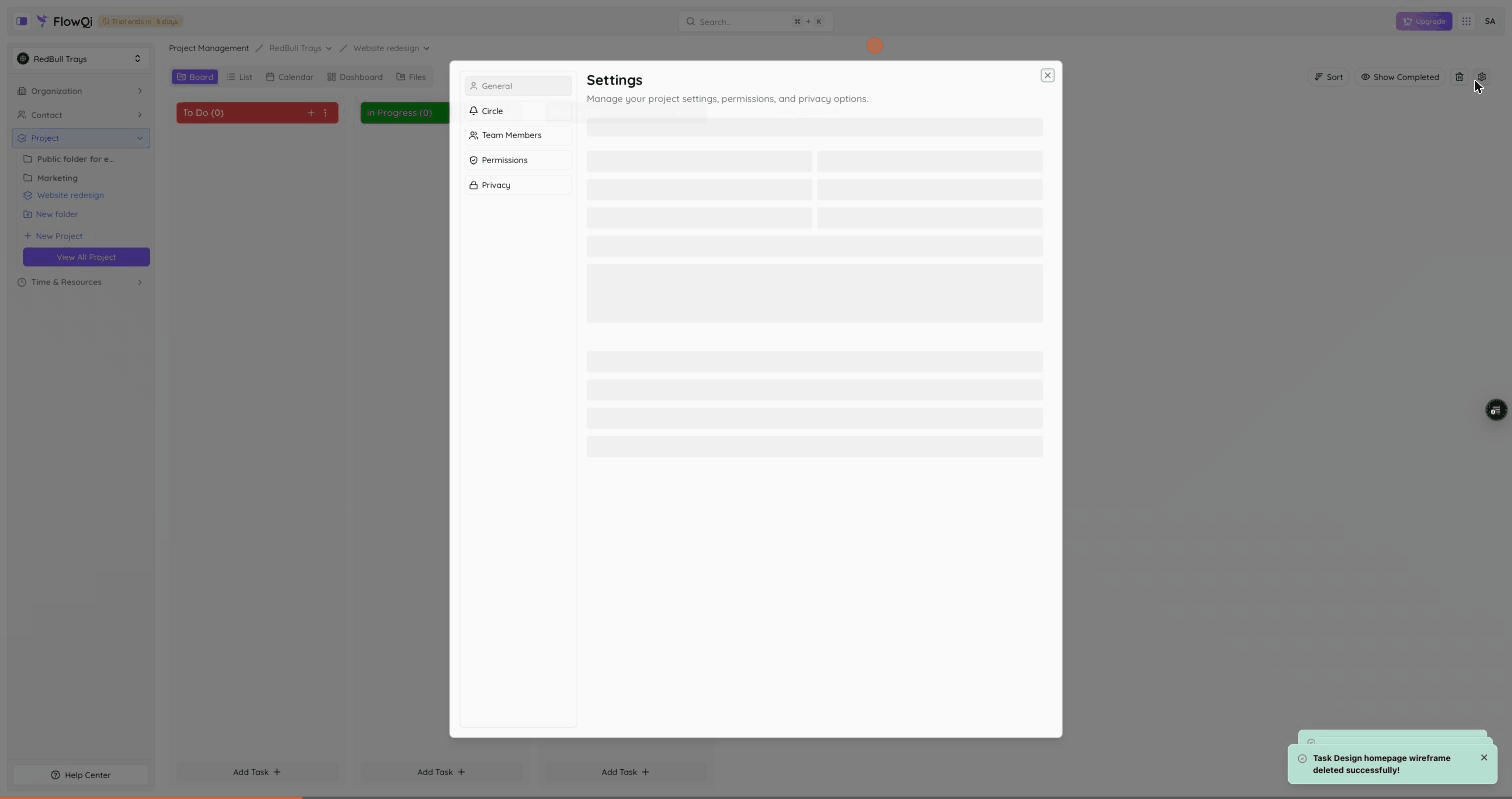
Archive a project you’ve finished with but want to keep. Open the project’s Settings (gear icon) → General and use the Archive action.
- An archived project no longer shows in the normal project list. To see it, click Show archived at the top of the projects overview — archived projects appear marked with an Archived badge.
- An archived project is read-only. A banner at the top of the project reminds you it’s archived; click Unarchive there (or in Settings) to make changes again.
Deleting a project (move to Trash)
Deleting a project doesn’t erase it — it moves the project to the Trash, together with all of its tasks. Someone with delete access to the project can do this.
Deleting a project also moves its tasks to the Trash. Restoring the project later does not automatically bring its tasks back — you restore those separately from the project’s task Trash. See Working with Tasks .
Restoring from Trash
- In the projects overview, click the Trash icon (top right) to open Trash — Projects.
- The Trash lists deleted projects in your current Circle, with who deleted each one and when. Use the search box to find a project by name.
- Select one or more projects with the checkboxes.
- Click Restore. The project returns to your project list.
Restoring a project brings the project back, but not its tasks. To recover the tasks too, open the restored project and restore them from its task Trash.
Purging: permanent deletion
From the Trash you can also remove a project for good. This is the only way to permanently delete a project, and it cannot be undone.
- In Trash — Projects, select the projects you want to remove permanently.
- Click Delete permanently.
- A confirmation dialog asks you to type the exact phrase shown (for example
delete 2 items) before the button activates. This is a deliberate safety step. - Confirm to purge.
Purging permanently deletes the project and all of its tasks and subtasks. This action cannot be undone — there is no second Trash to recover from. Permanent deletion is permission-gated; if you don’t see Delete permanently, ask your administrator. For the full picture of how archiving, the Trash, and recovery work across FlowQi, see Trash, Archive & Recovery .
Organizing projects into folders
Within a circle’s project list you can create folders to group related projects — for example a “Marketing” folder that holds all your marketing projects — for easier navigation.
- In the Project sidebar, click New folder.
- In the Create folder dialog (“Group related projects together for easier navigation”), fill in:
- Name (required) — for example “Marketing campaigns”.
- Circle (required) — defaults to the current circle.
- Click Create folder.
A folder belongs to a circle. Place projects into folders to keep the list organized; you can assign a folder when creating a project or move projects into folders later.
Permissions
What you can do with projects depends on your role. There is a separate permission to create projects, and access to view, edit settings, and delete an individual project is checked per project — it can apply to all, team, or own projects. If you don’t see a button (for example New project), you’re missing the matching permission — ask your administrator.